
Tickets – Overview Page
This document provides a comprehensive overview of the Tickets feature—covering its dashboard layout, key components, and ticket creation process within the Taqtics SaaS ecosystem
PAGE FLOW -
1. Know the interface
Objective
By the end of this section, you’ll be familiar with the Ticket dashboard layout—how to navigate key elements like filters, search, report options, and ticket views—so you can confidently explore and manage tickets before diving into the creation process.
Interface Guide
Video Walkthrough
Text Guide
Interface Walkthrough (Tickets)
- After logging into your Taqtics account, you’ll arrive at the main landing page, which showcases various features including "Tickets".
- From the left panel, click on "Tickets".
- The Tickets dashboard will open. This consists of the following components:
🔍 Following Filters
- Assigned to Me / Created by Me: Toggle between tickets assigned to you and those created by you.
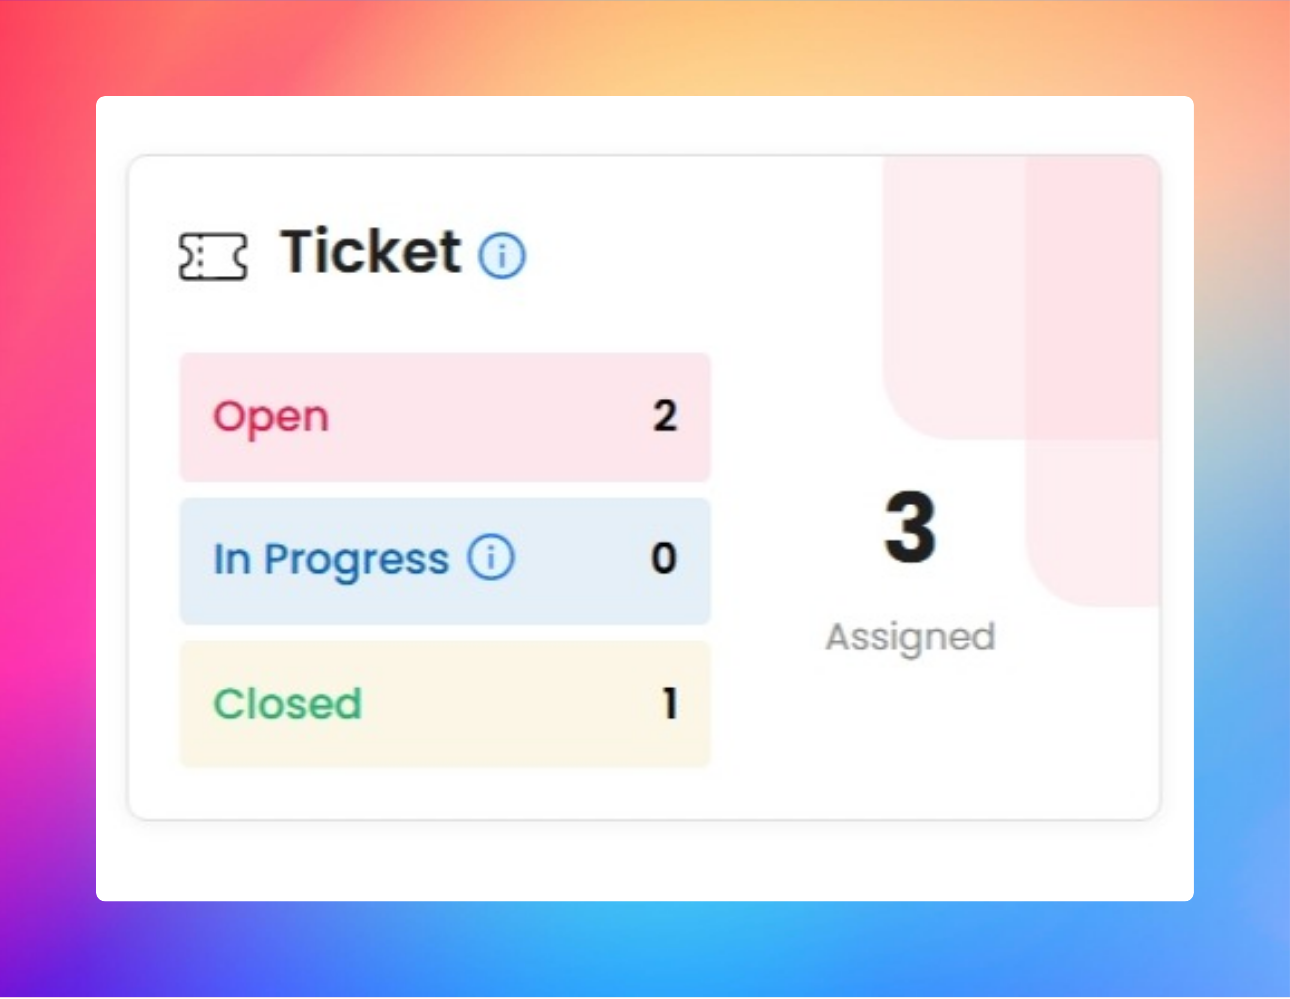
- Ticket Status Filters: Choose from Total, Open, In Progress, On Hold, Completed, Closed, Rejected, Overdue, Due Today, On Time.
- Search Table: A search bar where you can directly enter a ticket number to find a ticket.
- Reset: Located beside the search bar. Clears all filters and returns to the default ticket view.
- Date Filter: Two calendar selectors – "From Date" and "To Date" – with an "Apply" button to filter tickets based on date.
⚙️ Report Settings
- Clicking on "Report Settings" opens a box with a list of fields.
- Fields with checkboxes already selected represent the current columns shown in the ticket table.
- You can add or remove fields by checking/unchecking boxes. This changes the columns shown in the table below.
📥 Download Options
- CSV Button: Downloads the currently visible tickets in CSV format.
- Down Arrow beside CSV: A checkbox option labelled "With all fields" appears. If checked, clicking CSV will download the ticket list with all fields, even those not currently visible in the table.
➕ Add Ticket
- The "Add Ticket" button is used to create new tickets (either Auto or Custom).
📊 Ticket Table View
- This is a tabular format where each ticket is listed as a row with multiple field columns.
- Column Sorting: Clicking the arrow beside any column name sorts the table in ascending or descending order based on that field.
- Column Filter Options:
- Clicking the three vertical dots beside a column name gives:
- Search: Lets you search specific values in that column.
- Multiselect: Lets you select multiple values to view only matching rows.
End of text guide
💡
- Apply Status and Ticket ID filters to streamline your view and focus on key issues.
2. Create Ticket
Auto Ticket
Objective
Learn how Auto Tickets simplify the ticket creation process by auto-assigning users based on the predefined issue categories and priority levels set by the company admin.
Create Auto Ticket
Video Walkthrough
Text Guide
Step-by-Step:
- On the Tickets page, click "Add Ticket".
- Choose "Auto Ticket". A form will open.
- Fill in the following details in sequence:
- Store (mandatory): Select from the dropdown
- Category (mandatory): Choose from the list.
- Based on the category selected (e.g., "AC Leakage"), the following will be auto-filled and frozen:
- Priority (e.g., High)
- Users (pre-assigned by Admin)
- Due Date (e.g., 4 hours from ticket creation)
- Title (mandatory): Auto-copied from selected Category, but editable
- Description (mandatory): Provide a short description of the issue
- Attachments: Click on "Upload" to add any files or images
- Tags (if set by admin):
- Select "Vendor"
- Select "Issue Type"
- Enter "Phone Number"
- Choose "RCA"
- Choose "Automation"
- Click "Create" to submit the ticket.
End of text guide
💡
Curious how these fields are auto-filled? Click here to learn about
Create Custom Ticket
Objective
Understand how to manually create Custom Tickets by selecting specific users or teams, giving you full control over assignments and ticket configuration.
Create Custom Ticket
Video Walkthrough
Text Guide
Step-by-Step:
- Login to your Taqtics account.
- The landing page will appear, showcasing various features including "Tickets".
- From the left panel, select "Tickets".
- On the Tickets page, click "Add Ticket".
- Choose "Custom Ticket" (we are documenting for Custom only). A form will open.
- Fill in the following details:
- Title (mandatory)
- Description (mandatory)
- Priority (mandatory): Select from dropdown options – Highest, High, Medium, Low, Lowest
- Store: Choose from dropdown (populated by admin via Creator Mode)
- Attachments: Add any supporting files
- Assign To (mandatory):
- Select individual Users (across company)
- Or select from Teams (pre-configured by Admin in Creator Mode)
- Tags (if set by admin):
- Select "Vendor"
- Select "Issue Type"
- Enter "Phone Number"
- Choose "RCA"
- Choose "Automation"
- Deadline (optional):
- Tick "Has Deadline"
- Select due date and time
- Click OK
- Finally, click "Create" to submit the ticket.
End of text guide
3. Action Ticket
Objective
Understand how to manage and update ticket statuses, claim tickets, add comments and attachments, escalate tickets, and eventually close tickets, ensuring smooth operations and collaboration in the ticket resolution process.
Manage Ticket Details & Actions
Video Walkthrough
Text Guide
1. Login to your Taqtics account.
Logging in to access the ticketing system.
2. The landing page will appear, showcasing various features, including "Tickets".
You are on the main dashboard, where you can select and manage tickets.
3. From the left panel, select "Tickets".
Accessing the "Tickets" section from the main navigation panel.
4. On the Tickets page, click on any ticket from the grid to view its details.
Selecting a ticket to see its details and take action.
Ticket Details Page Layout
The Ticket Details page is divided into two main columns:
- Right Column: Displays comments and attachments related to the ticket, where users can add new comments or attachments.
- Left Column: Contains the ticket information and action buttons.
Top Section (Ticket Details)
Here, you will see the following Ticket Information:
- Ticket Name
- (The name or title of the ticket)
- Store Name
- (The name of the store linked to the ticket)
- Ticket ID
- (A unique ID assigned to the ticket for tracking)
- Current Status (dropdown for actions)
- (Shows the current status of the ticket, such as "In Progress", "Complete", etc.)
- Description
- (Details or summary of the issue in the ticket)
- Attachments
- (Any files or documents uploaded by the creator of the ticket or any invoice uploaded by the assignee )
Bottom Section (More Ticket Details)
Below the Ticket Details in the same left column, you’ll find the following fixed fields:
- Created By
- (The name of the person who created the ticket)
- Created At
- (The date and time when the ticket was created)
- Claimed At
- (The date and time when the ticket was claimed by a user)
- Priority
- (The priority level of the ticket, such as "Highest", "Medium", "Low")
- Closure TAT (hours)
- (The time limit for closing the ticket)
- Assigned To
- (The person to whom the ticket is assigned; can be reassigned)
- Due Date
- (The date and time by which the ticket must be completed)
- SLA (hours)
- (The Service Level Agreement for ticket resolution, in hours)
- Escalate To
- (Click here to escalate the ticket to another user, they will be notified)
- Completion TAT (hours)
- (The time limit for completing the ticket once it's claimed)
- Cost
- (Any cost associated with completing the ticket)
- Tags (if created by Admin):
- Issue Type
- Vendor
- Phone Number
- RCA
- Automation
Actions to Perform on the Ticket
- Claim the Ticket
- Click the Claim button to start actioning on the ticket.
- Once claimed, the Status dropdown will default to "In Progress".
The user is starting to work on the ticket by claiming it.
- Update Ticket Status
- From the Status dropdown, change the status to one of the following:
- In Progress (default after claiming)
- On Hold
- Complete
- Reject
- At any point, you can also add comments and attachments on the right column.
The status of the ticket is updated, and comments or attachments can be added.
- Add Cost
- After selecting Complete from the dropdown, a new button "Add Cost" will appear.
- Click Add Cost to add any costs incurred during the ticket’s completion, and attach relevant invoices.
- Note: Attachments added during this process will be shown in the right column under comments and attachments.
Adding cost details and supporting attachments once the ticket is marked as complete.
- Reassign the Ticket
- In the Assigned To section, you can reassign the ticket to another user, but only one person can claim it at a time.
Reassigning the ticket to another user, while ensuring it remains claimed by one person.
- Escalate the Ticket
- Click Escalate To and choose a user to escalate the ticket to.
- This will send an email or app alert to the user.
Escalating the ticket to another user for priority attention.
- Remind Assignee
- Click the "Remind Assignee" button to send an email and app notification to the assigned user, reminding them about the ticket.
Notifying the assigned user to act on the ticket if it’s pending or overdue.
Closing the Ticket
- Select "Complete" from the Status Dropdown
- Once all actions are done, select Complete from the status dropdown. This will unlock the Close Ticket option.
- Click Close Ticket
- After selecting Complete, a new dropdown will appear to choose between Open or Close. Select Close to finalize the ticket.
- A mandatory comment box and attachment upload dialog will appear. Add any final remarks or necessary attachments before clicking Submit.
Finalizing the ticket closure by adding comments and attachments.
Download Ticket Report
- After the ticket is Closed, click on Download PDF to get a detailed report of this ticket in PDF format.
Downloading a PDF of the ticket details after closure.
Other Options in Ticket Details Page
- Sync Button: Refresh the page for the latest updates.
- Copy Link URL: Click this to copy the ticket's private URL. Authentication is required for anyone viewing the ticket.
- Navigation Arrows: Use the left and right arrows to navigate between tickets.
Refreshing the page, sharing the ticket link, and navigating to the next or previous ticket.
End of text guide
💡
- 🔄 Tap on the Synchronize icon to refresh and fetch any new comments added by others on the same ticket (since updates are not real-time)
- Admin can control whether users have permission to delete a ticket or not.
- Tickets are not provided with the public link as it has internal data of assignee
- Reassigning the ticket after claiming it, will move the status of ticket to open again
- Auto close
- Escalated person will be notified with an email alert notification
- Only the creator of the ticket can “close” the ticket after it has been moved to “completion”.