
This section brings together all the extra tools that help you work smarter with your assets in Taqtics.
From tracking an asset’s complete edit history, to raising tickets directly from asset records, generating QR codes for quick access, and creating downloadable PDF reports in multiple languages — everything is in one place.
Whether you’re troubleshooting, auditing, or sharing information with your team, these tools make asset management faster, more transparent, and accessible from anywhere.
Asset Item History — what it is
See a complete timeline of changes for any asset. Jump to an earlier version via Change History (left panel updates to that snapshot), or switch to Asset History for a column‑wise, table view of edits.
How to check an asset’s history
- Go to Assets and open the relevant Asset Table.
- Find the item and click its Asset Item ID (e.g., KIT‑007) to open Asset Details.
- In the right panel, open Change History and click any timestamp to preview that version; the details on the left will update to that snapshot.
- Prefer a tabular view? Click Asset History to see changes in a column‑wise table.
- Click back to the latest timestamp when you’re done reviewing.
Create Tickets from Assets
You can raise tickets directly from an asset item to track and resolve issues linked to it. This ensures the ticket is tied to the correct asset for easy follow-up and reporting.
There are two ticket types available:
- Custom Ticket – Manually fill out all ticket details for the issue.
- Auto Ticket – Uses pre-configured ticket templates so key details (priority, assignees, due date) are auto-filled.
Note: For both ticket types, the ticket must always be raised for the same store that the asset item belongs to.
Step-by-Step: Create a Custom Ticket
- Open the Asset Table from the left-hand menu.
- Click on the Asset Item ID you want to raise a ticket for.
- On the Asset Details page, click
+ Add Ticket.

- Switch to the
Customtab.
- Fill in all ticket details:
- Title (auto-filled with Asset ID – can be edited)
- Description of the issue
- Priority
- Store (must be the asset’s store)
- Attachments (optional)
- Assign to Users or Teams
- Add a Deadline if required
- Click
Createto log the ticket.
Step-by-Step: Create an Auto Ticket
Auto Tickets pull their configuration from Asset Ticket Settings set up in Creator Mode.
- When you select Auto, the system automatically fills in the priority, assigned users, and due date based on:
- The issue type selected
- The store that the asset item belongs to
Steps:
- Open the Asset Details page for the relevant asset.
- Click
+ Add Ticket.
- Switch to the
Autotab.
- Select the Issue Type from the dropdown.
- Priority, Users, and Due Date will auto-populate.
- Review and confirm details.
- Click
Createto log the ticket.
For more on how auto ticket settings are configured, see: Configuring Asset Ticket Settings (hyperlink placeholder)
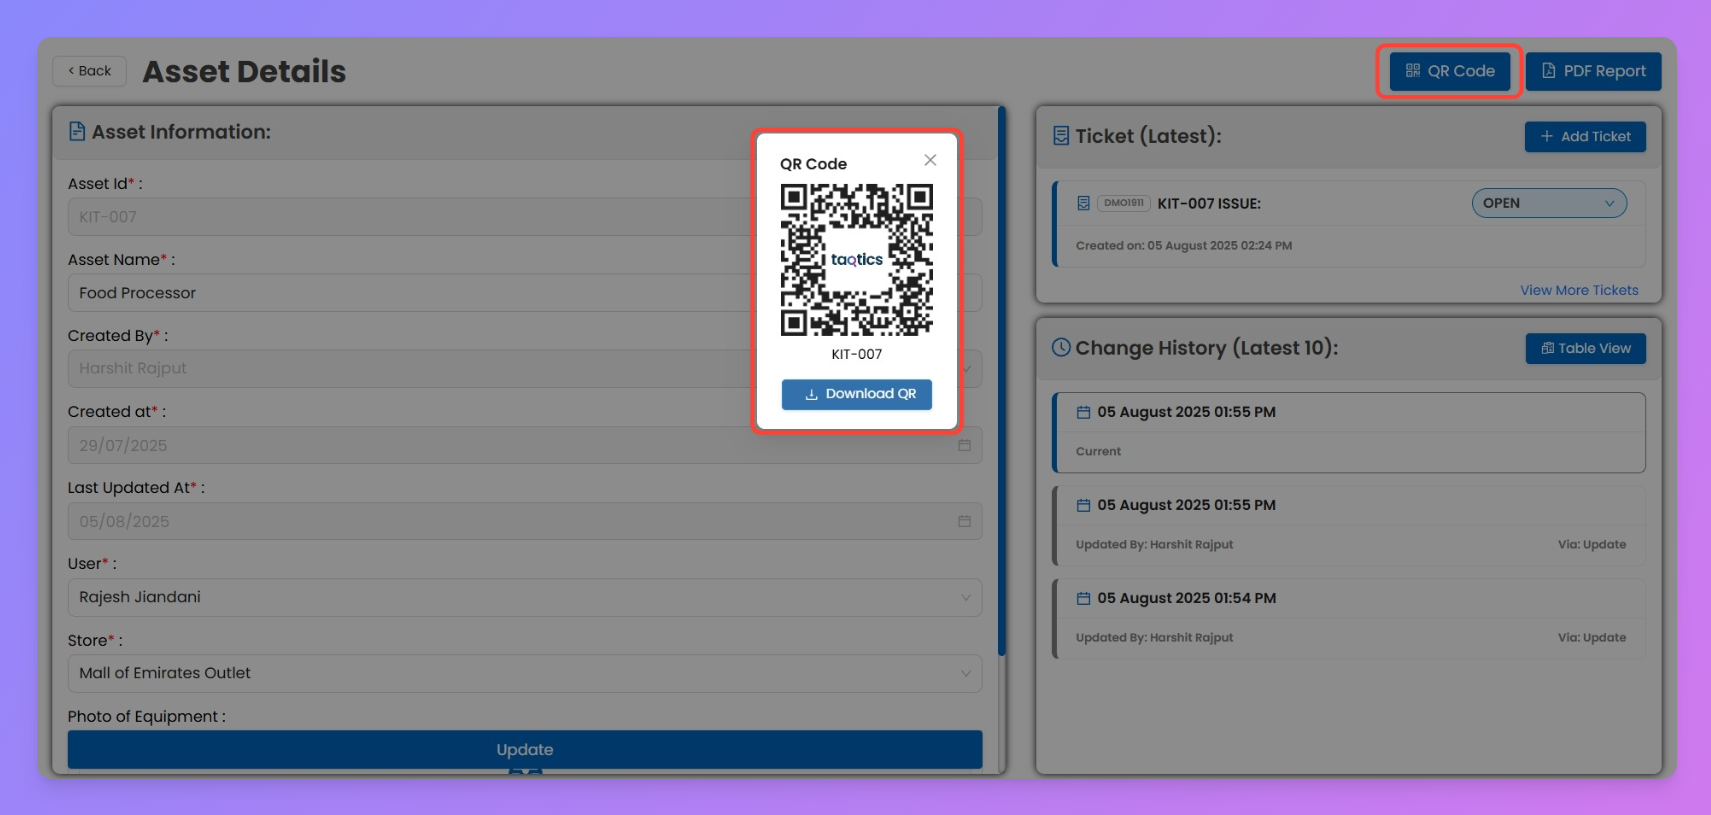
QR Codes for Assets
Make asset reporting easier with QR codes.
- Download a QR code for each asset item.
- Store employees can scan the code directly from the asset to:
- Fill up required forms, or
- Raise a ticket instantly.
- Each scan ensures quick and accurate reporting.
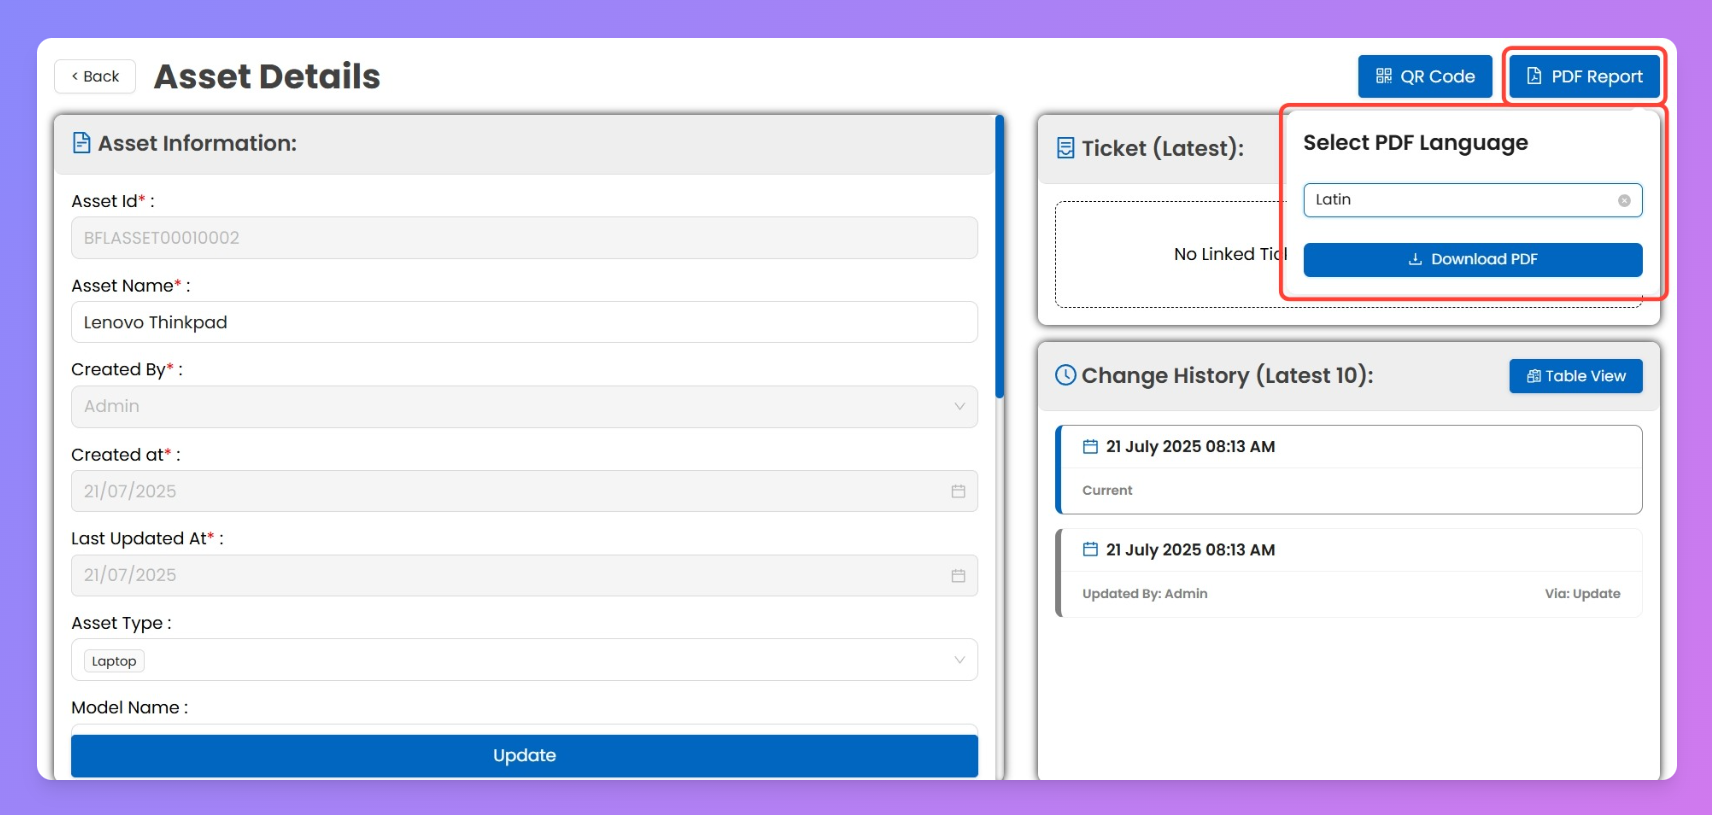
Multi-language PDF Reports
Download PDF reports for asset records.
- Reports include all key details plus the complete asset history.
- PDFs are available in multiple languages.
To generate a PDF in a specific language, enter asset details in that language while creating the asset.
⚡ Pro Tip: QR codes + Tickets + PDF reports ensure that asset tracking is not just digital but also actionable across all store levels.