Taqtics Assessments help you certify knowledge by assigning formal tests with automatic grading and certificate generation. These assessments are standalone and not tied to any course.
You can configure everything from questions, scoring, duration, attempts, visibility, and certificates.
Quick Steps to Set Up an Assessment
Step 1: Login & Go to Creator Mode
- Click Creator Mode on the landing screen.
- Select Assessment from the options.
- You'll land on a page listing all existing assessments (if any).
Step 2: Click "+ Assessment"
- Tap the + Assessment button.
- A 3-stage setup flow opens:
- Builder
- Properties
- Publish(If "Generate Certificate" is enabled, an additional stage — Certificate Settings — will appear)
Stage 1: Builder
Just like the process/question builder:
- Add Sections and Subsections
- Add Questions:
- Short Answer
- Single Answer
- Multiple Answer
- Available enhancements:
- Add Instructions
- Add Attachment
- Mandatory Toggle
Stage 2: Assessment Properties
Properties
Once you’ve built the assessment questions, move to the Properties tab to configure how the test behaves:
Setting | Description |
Title | Name of the assessment (e.g. “Monthly Safety Check”) |
Description | Short description of what this assessment covers |
Minimum Passing % | Score required to pass (e.g. 30) |
Max Attempts | Max number of retakes allowed (e.g. 1) |
Start Date / End Date | Control when the assessment is open for attempts |
Duration | Time limit to complete the assessment once started (e.g. 01:00) |
Visible | Show or hide the assessment from submitters |
Show Result | Allow users to view their own result after submission |
Show Correct Answer | Show right answers to users post-submission |
Dynamic Assignment | Auto-assign to users based on store/entity logic |
Enable certificate generation for passing users ✅ |
📌 If "Generate Certificate" is turned on, you'll enter Certificate Settings before publishing. (See: Certificate Settings Guide)
Stage 3: Publish
Just like process assignment, you can publish assessments:
- By Store – Select stores, map designations, assign
- Via Assignee Profile – Use existing assignee profiles (Learn more)
Once published, users can access the assessment within the validity window, attempt it, and get certified upon passing.
Configure Certificate Settings
Once you enable the Generate Certificate option in your assessment properties, Taqtics unlocks an additional step for customizing certificates. This allows you to design how the certificate will look, what it will display, and how long it remains valid — making it easier to recognize learners who complete assessments successfully.
This setup has four sections:
Each section includes:
- Preview – See how your certificate looks
- Download Sample– Export a sample copy
- Apply Configuration – Save changes
Step-by-Step: Set Up Your Certificate
- Shows a visual preview of the certificate layout.
1. General
- You can change the primary color of the certificate to match your brand.
2. Content
Configure what appears on the certificate:
Field | Action |
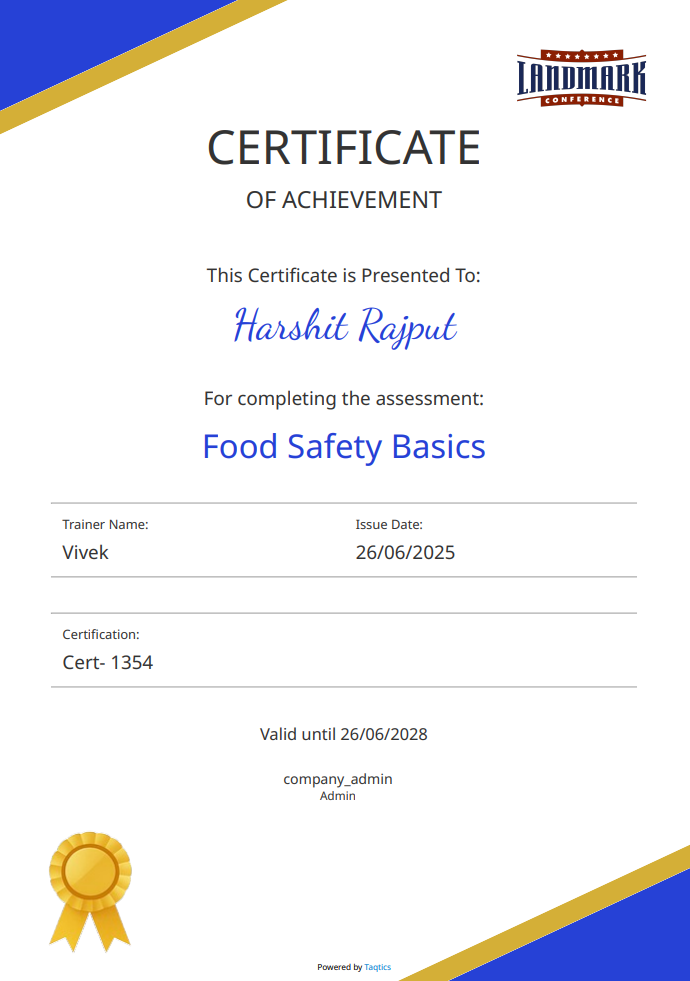
Certificate Header | Toggle ON and enter custom text (e.g., “Certificate of Achievement”) |
Assessment Name | Toggle ON and enter the name of the assessment (e.g., “Food Safety Basics”) |
Trainer Name | Toggle ON and type the trainer’s name (e.g., “John Smith”) |
Issued Date | Toggle ON to display date of certification |
Custom Fields (2 Max) | Define custom label and value pairs (e.g., “Certification ID” → LET/139) |
💡 You can preview how these details look using the Preview option.
3. Validity
Control how long the certificate stays valid:
Option | Description |
Duration from Issue Date | Select from preset durations (e.g., 1 month, 6 months, 1 year, 3 years, 5 years) |
Fixed Expiry Date | Pick a custom expiry date from the calendar |
No Expiry | Certificate remains permanently valid |
Use Apply Configuration once selected.
4. User Tags (Optional)
Tag your certificates with user-specific metadata like region, level, or role. These tags come from pre-created user tag options set up under the Manage Users section in Creator Mode.