This page gives you a walkthrough of the Taqtics login experience and the landing screen you’ll see after logging in. This guide helps new users get familiar with the platform layout in minutes.
Taqtics First Login
The first step to using Taqtics is logging into your company’s workspace. You’ll get your login email ID and a password from your internal team or Taqtics representative.
There are two possible login experiences:
- If your email is eligible for verification (✅ email verification turned ON), you’ll get a secure link to set your own password.
case of Valid Email
- If it’s a taqtics dummy email email (🛠 verification OFF), you’ll just log in directly using the pre-set password shared with you.
case of Dummy email
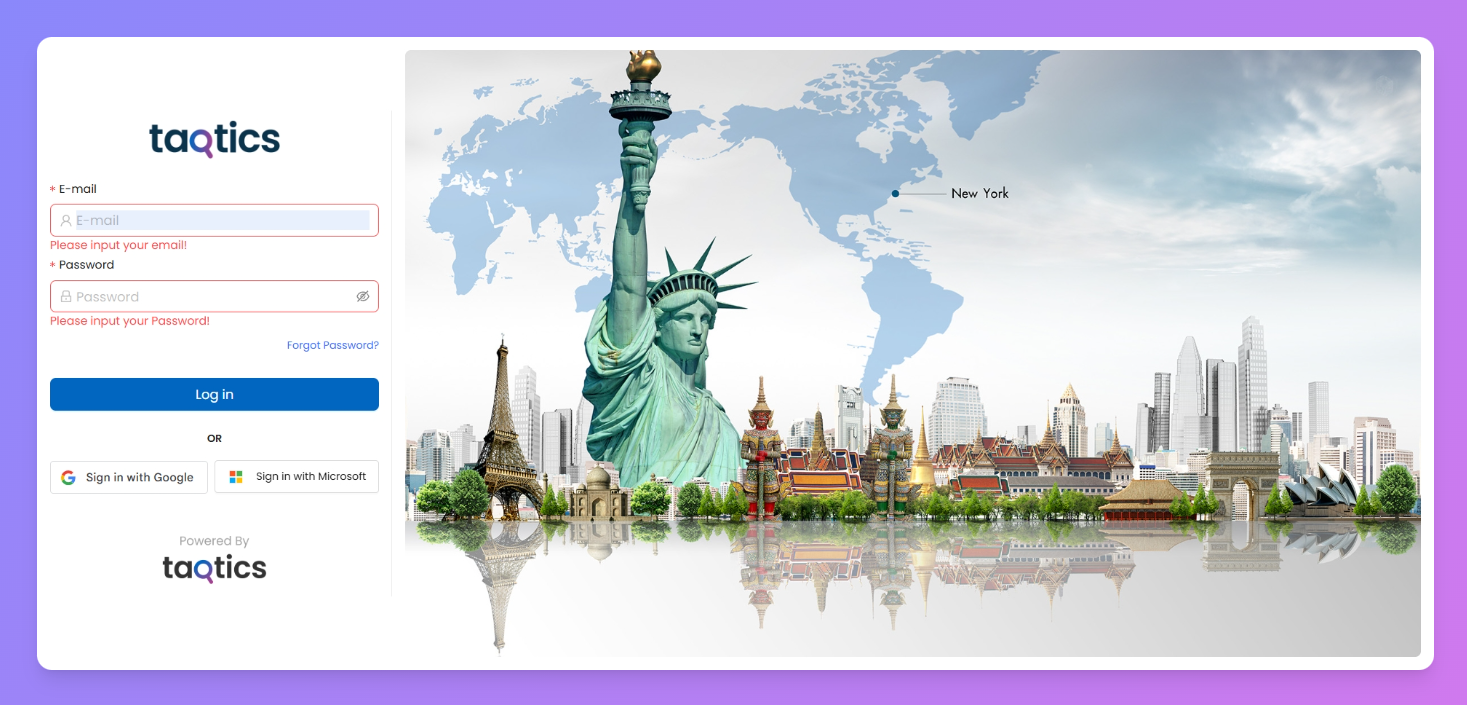
Steps to Log in
- Go to your org’s Taqtics URL (e.g.
yourcompany.taqtics.co)
- Enter your email ID and click Next
- Depending on your above email settings, you’ll see one of the two flows:
(I) If your email requires verification:
You’ll receive two emails from Taqtics:
Email Type | Purpose |
Set Password | Click “Here is your new password” to define your own login password |
Verify Email | Click “Verify Here” to confirm your email address so you can receive notifications |
Once both are done → head back to the login page and use your email + new password to sign in.
(II) If you have taqtics dummy email :
- If you have Taqtics dummy email, it means your email is already registered by the admin. Here, you can simply use the email and password shared with you to log in directly
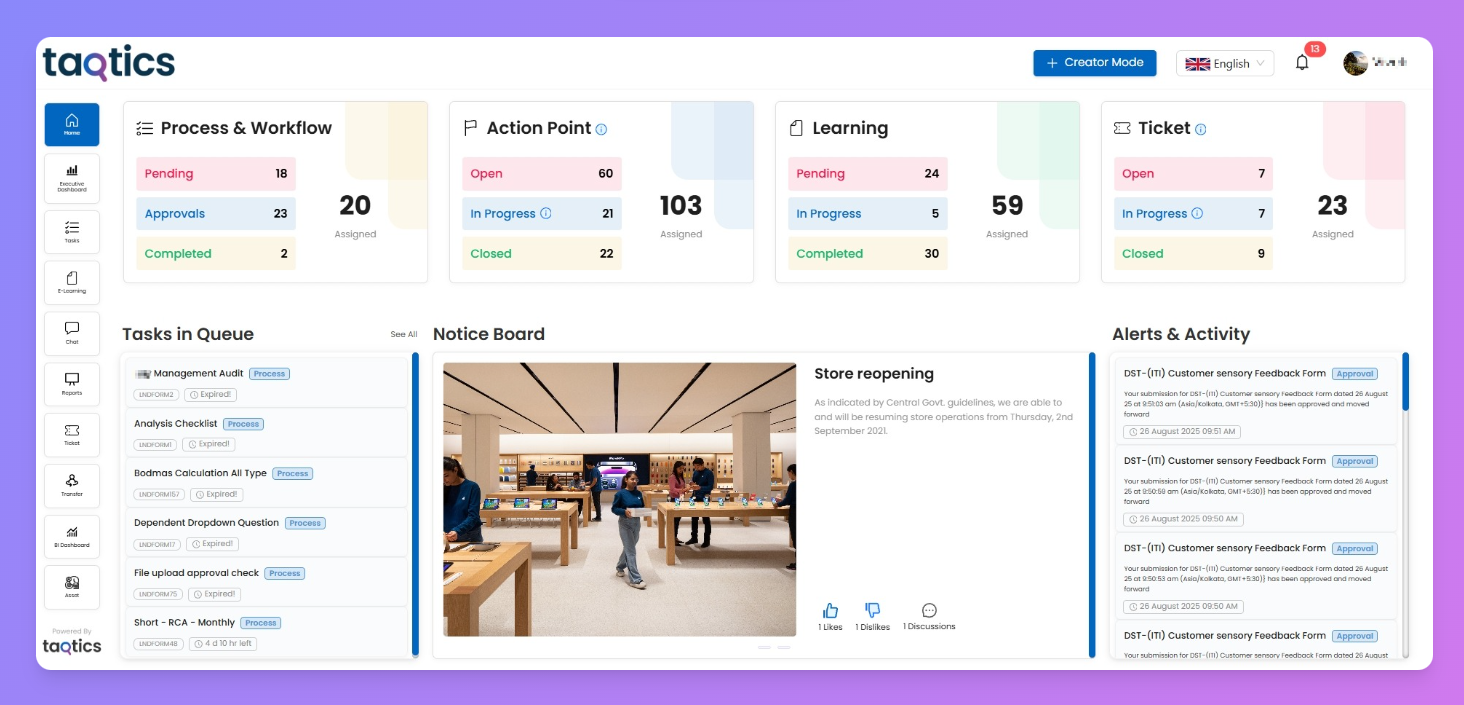
Taqtics landing page
After logging in, you’ll land on your Taqtics dashboard. This is your central hub — from here, you can access all major features, complete assigned tasks, check alerts, and much more.
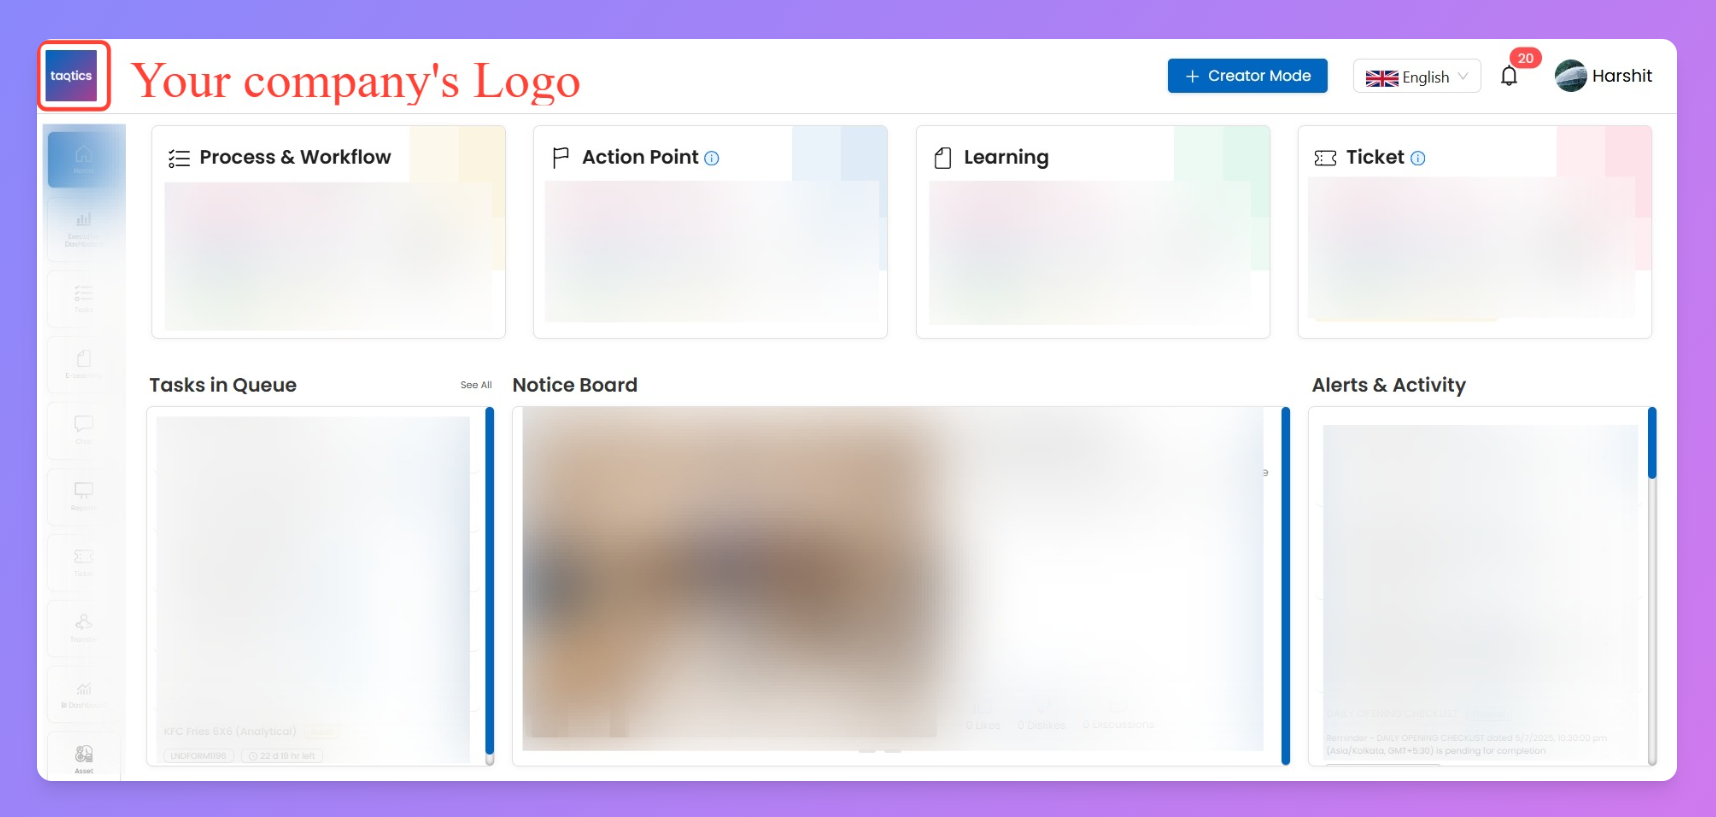
Your Company’s Logo
In the top-left corner of the landing page, you’ll see your company’s logo — a small but powerful reminder that this is your workspace, tailored for your brand and your teams.
All Feature Panel & it’s Quick Access Tiles
Your Taqtics home screen is built for speed — you’ve got two ways to jump into the platform’s key features:
1) All Feature Panel (Left Sidebar)
This vertical sidebar on the left is your master control panel. It shows all modules available in your Taqtics workspace — not just the big 4.
You’ll see icons for:
- Home: Jump back to taqtics landing page anytime
- Executive Dashboard: View key metrics across stores
- Tasks: Your hub for Process or Audit Tasks, its approvals and action points.
- E-learning: Assigned trainings and assessments
- Chat: Talk to teammates if enabled
- Reports: View audit logs, process reports, action point reports, etc.
- Tickets: Track issues or service requests
- Transfer: (If enabled) handle item/staff transfers
- BI Dashboard: Deep-dive analytics
- Asset: View and manage physical or digital assets
This panel never changes — it’s always visible so you can hop between any page easily.
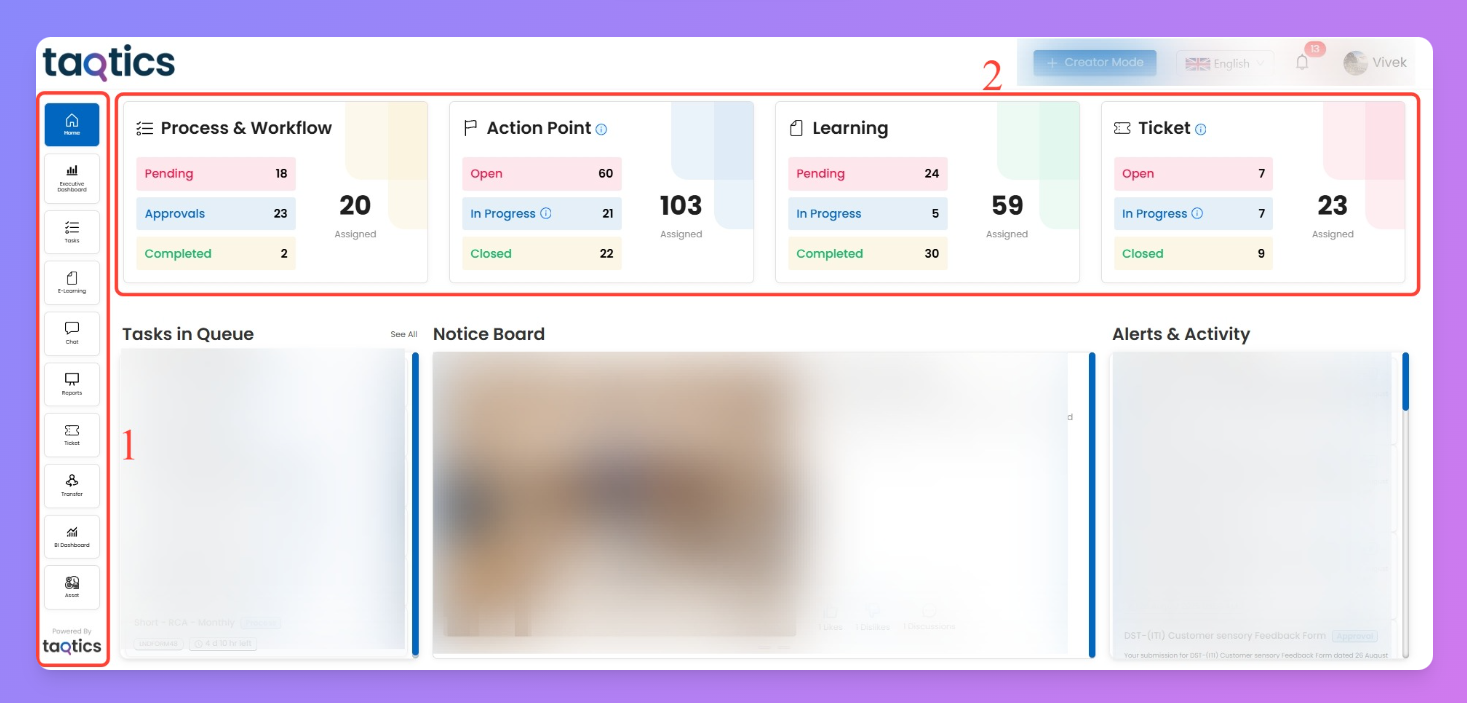
2) Quick Access Tiles (Top Center Panel)
These are the big 4 tiles in the center of your screen — showing your most relevant updates.
Tile | What It Shows |
Process & Workflow | No. of checklists pending, approved, or completed for you |
Action Point | Action points you’re responsible for (with status tags) |
Learning | Track your assigned modules and completion status |
Ticket | Tickets you’ve raised or been assigned to (with real-time counts) |
Each tile is clickable and filters data just for you. Think of it like a shortcut dashboard designed for your day-to-day work.
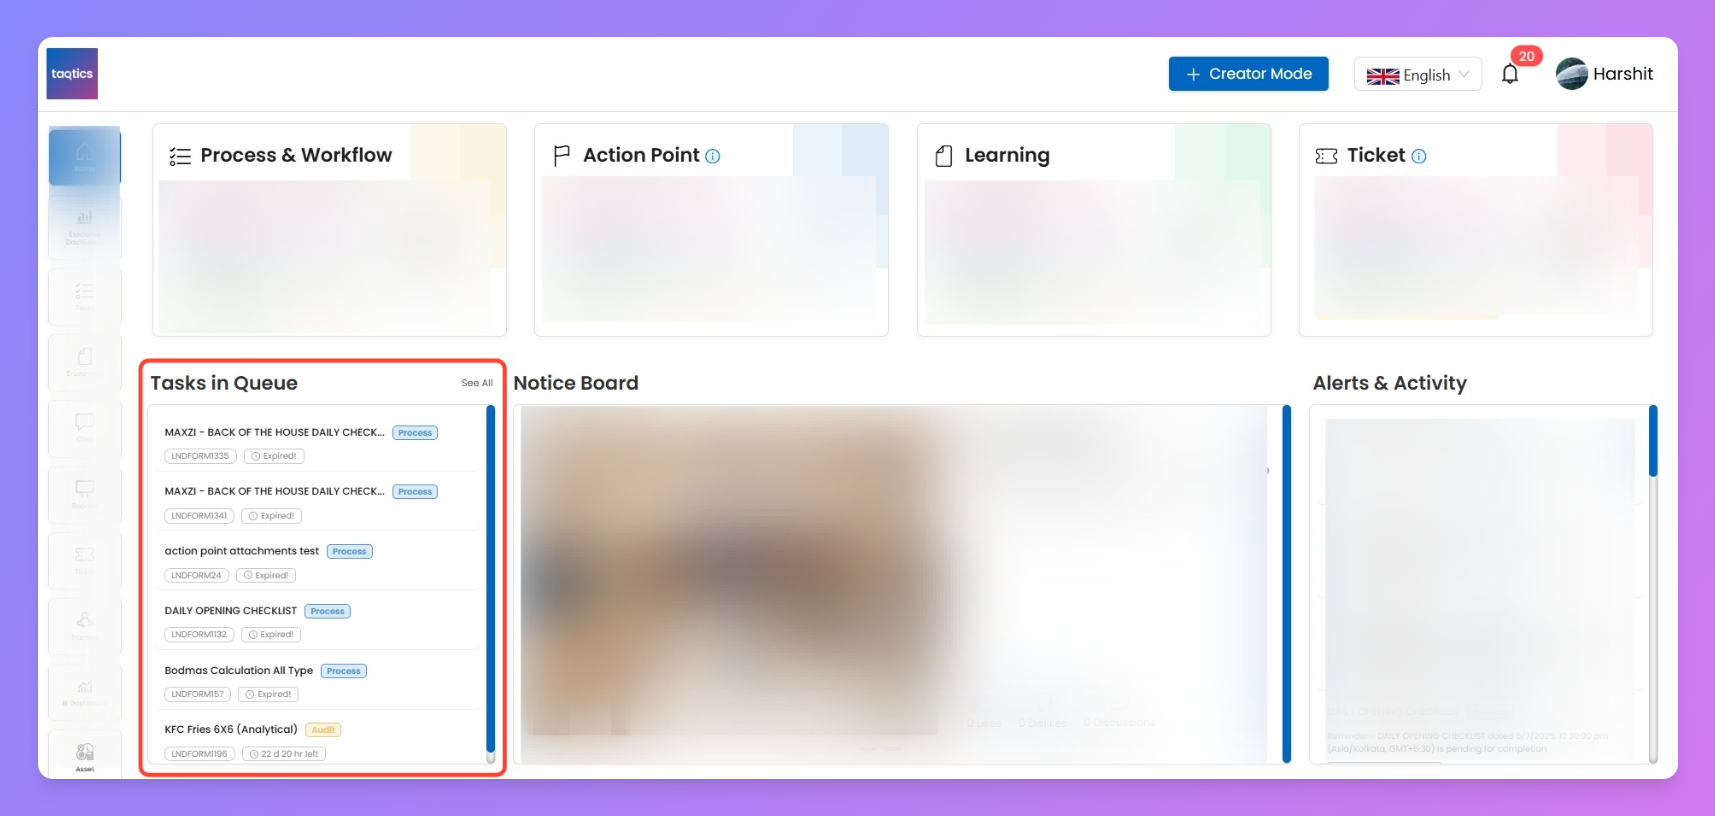
Your upcoming tasks
Just below the main tiles, you’ll find the Upcoming Tasks section. This area shows what’s due or pending for you — whether it's filling a checklist, reviewing submissions, or completing a learning module.
Noticeboard
Use this tile to post important updates across your stores. Want to announce a product launch, festival guidelines, or new uniform rules? Drop a short message here and it’s visible to all relevant users.

Top Control Panel
The strip at the top- right of your screen includes four key controls:
1. Creator Mode
Clicking the Creator Mode gives access to the setup and feature configurations of Taqtics. This space is split into three columns: This space is split into three major sections:
Create Mode
Tools to build and configure features like:
Admin Studio
Admin-only section to manage:
Settings
Includes:
Used to define platform-wide rules like 2FA, password rotation, and more.
🔐 Note: Not all users will see everything here. Access to these sections depends on your role and permission level. For example, only company admins typically have full visibility. Others might see just a few tiles based on what's enabled for their access level.
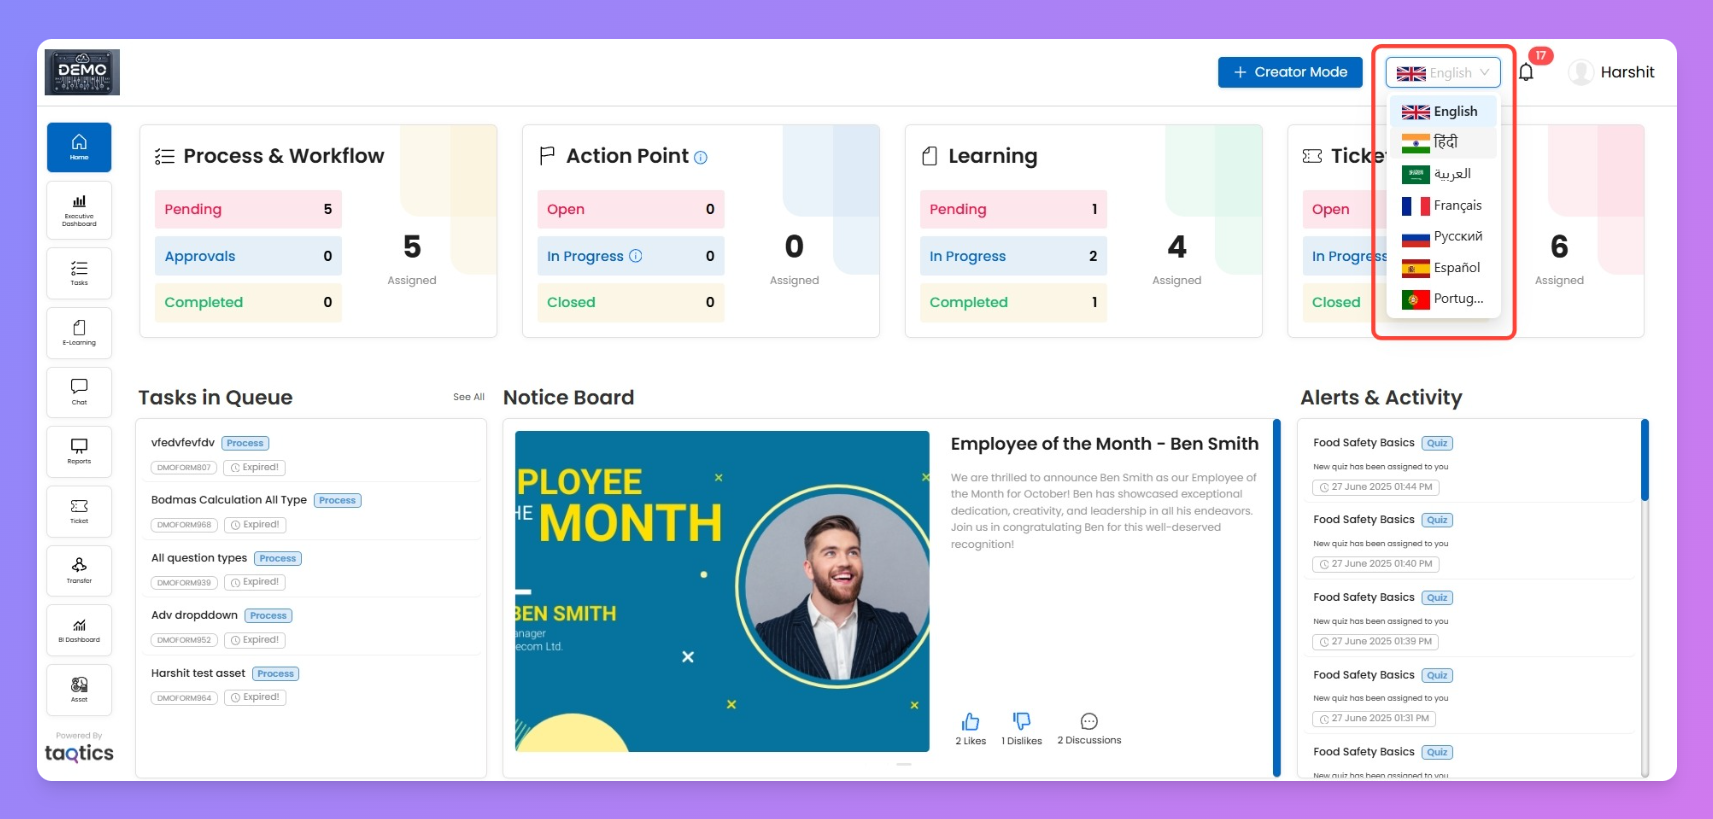
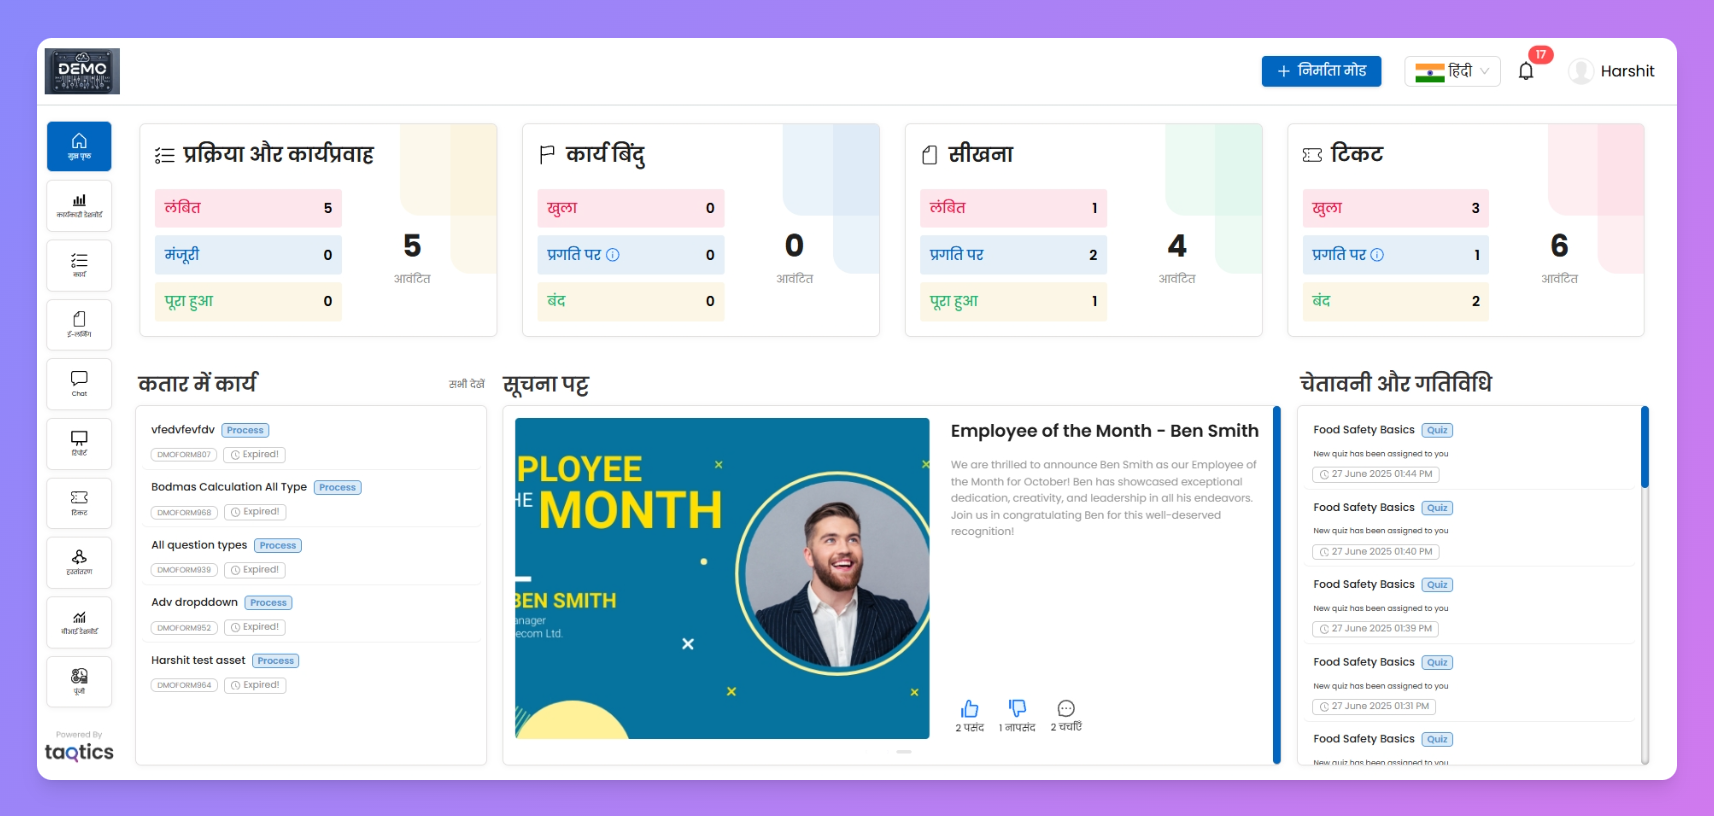
2. Language Selector
Easily change the app’s UI language from here.
💡 Note: This only changes the platform interface. Any custom content (like process questions or learning materials) must be written separately in the desired language.
3. Notifications
This is where you see all platform-triggered alerts — think submission rejections, process reminders, or overdue tickets. You can access this both:
- From the bell icon in the top-right navigation bar, or
- Directly via the Alerts & Activity tile on the landing page.
Only the latest 20 alerts are shown in the bell dropdown. Use the full Alerts & Activity page to go deeper.
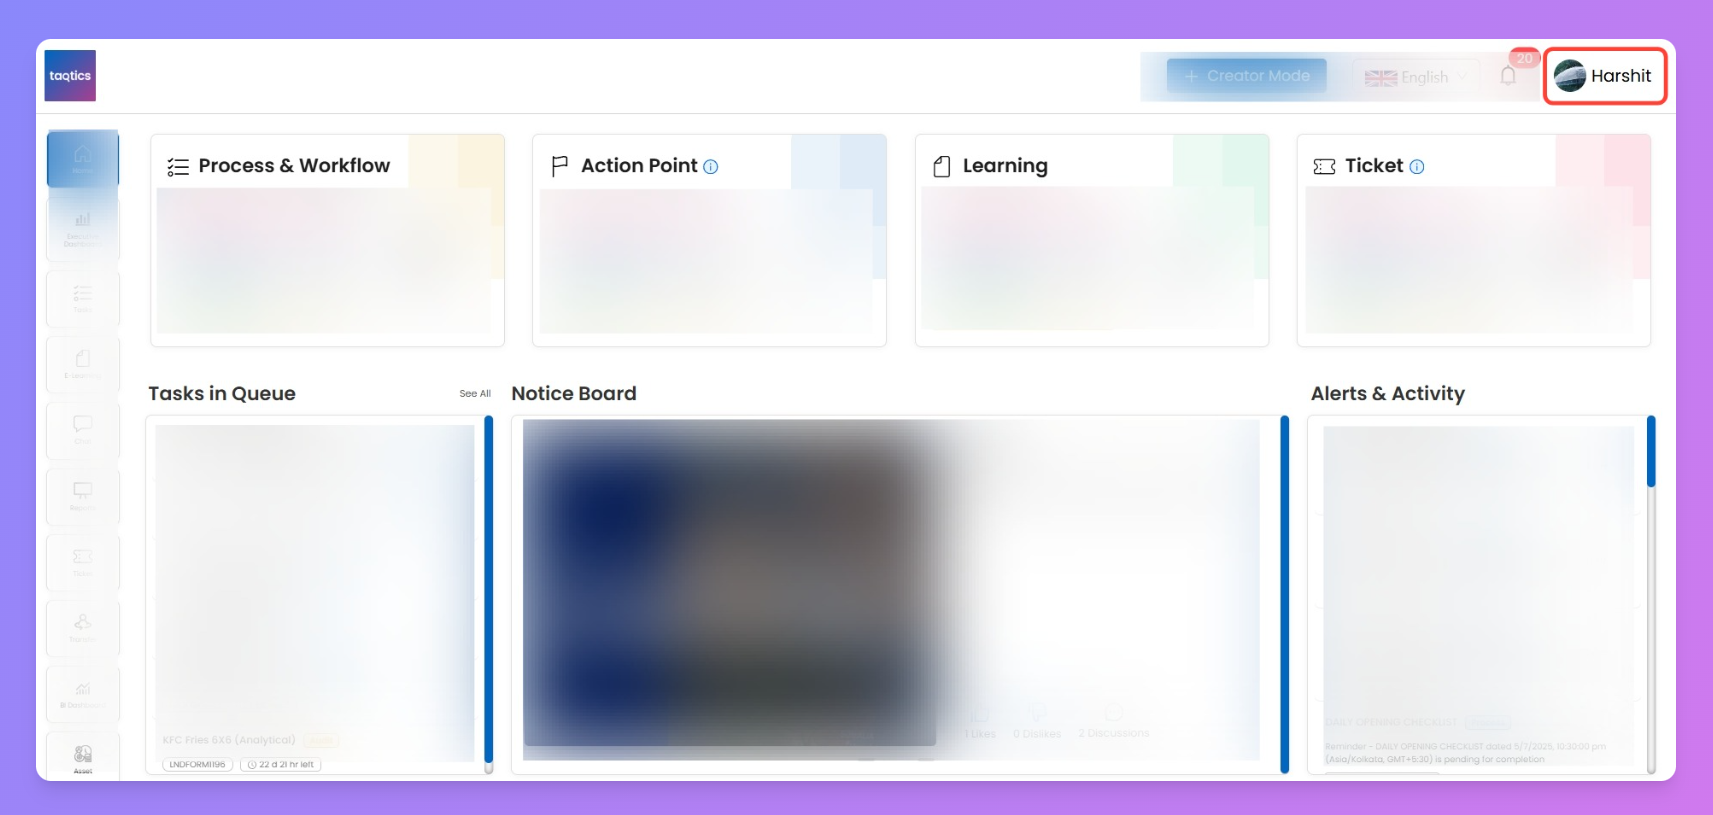
4. Your Profile
Click your profile picture (top-right corner) to access:
- Profile Info
- Change Password
- Notification Settings
- Logout